Instant Pot Chili Con Carne

Instant Pot Chili Con Carne

Print

clock clock icon cutlery cutlery icon flag flag icon folder folder icon instagram instagram icon pinterest pinterest icon print print icon squares squares icon

InstantPot Chili Con Carne


  • Author: Zach Johnston

Description

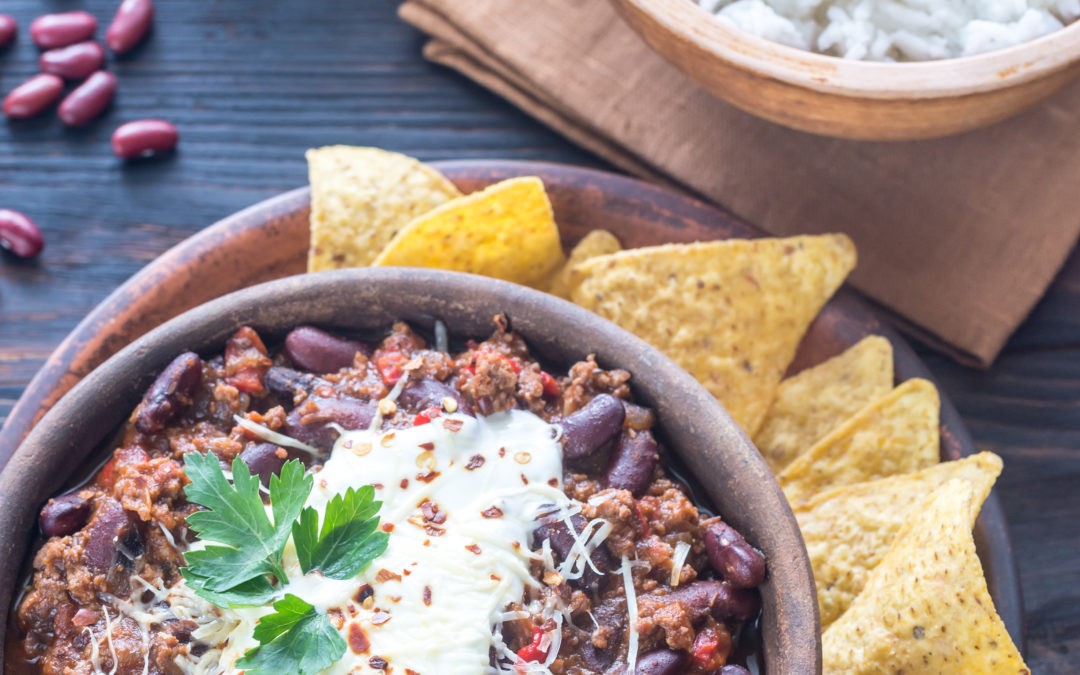
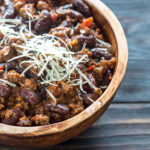
Few things can warm up the soul like a big bowl of chili. Come on this journey with us as we get the world’s best chili ready for your kitchen.


Scale

Ingredients

  • 4 ounces bacon, cut into 1/4-inch dice
  • 1 teaspoon canola oil
  • 3 pounds beef chuck, cut into 11/2 inch pieces
  • 1 large onion, diced (about 11/2 cups)
  • 1/2 cup beer (lager-style, nothing too bitter)
  • 3/4 cup chili paste
  • 11/2 cups beef broth
  • 23 tablespoons masa harina (depending on how thick you like your chili)
  • kosher salt and freshly cracked black pepper. 

Instructions

  1. Set “Sauté” function to high. Cook bacon until the fat is rendered and the bacon is just beginning to crisp. Remove bacon with a slotted spoon, leaving drippings in the insert. (You should have about 2 tablespoons of bacon fat in the pan.)

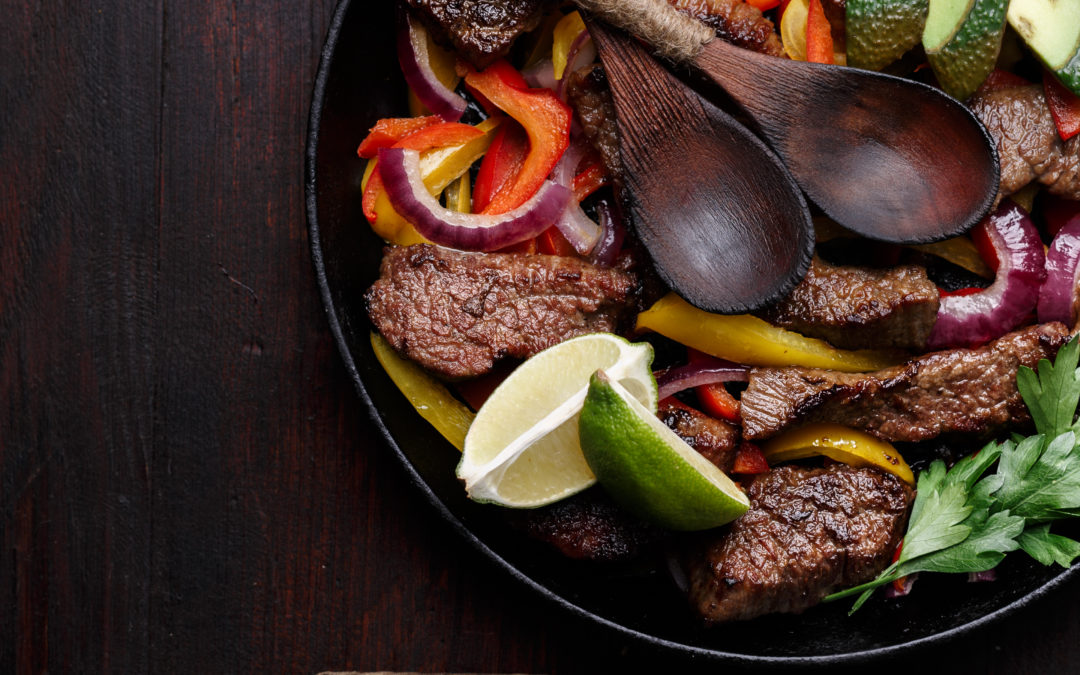
  2. Season beef cubes all over with FAJITA SEASONING. Add to the multi-cooker insert in small batches and brown on all sides. Remove browned beef cubes to a plate to hold while searing each batch of meat.

  3. Add onions to the insert with 1 teaspoon FAJITA SEASONING and sauté until onions begin to soften for about 5 minutes.

  4. Deglaze the insert with beer, and simmer until reduced, about 3 minutes. Stir in chili paste and beef broth until combined.

  5. Add beef cubes and reserved cooked bacon back into the pot. Stir to coat with the sauce. Place the lid onto the multi-cooker and lock into place with the vent in “sealing” position.

  6. Switch to the pressure cooker function and set it to HIGH pressure for 30 minutes. When finished cooking, let the steam naturally release for 10 minutes, and then quick release the remaining pressure.

  7. Switch the multi-cooker back to the Sauté function. Stir masa harina into the chili until smooth and simmer until thickened. Season to taste with salt.

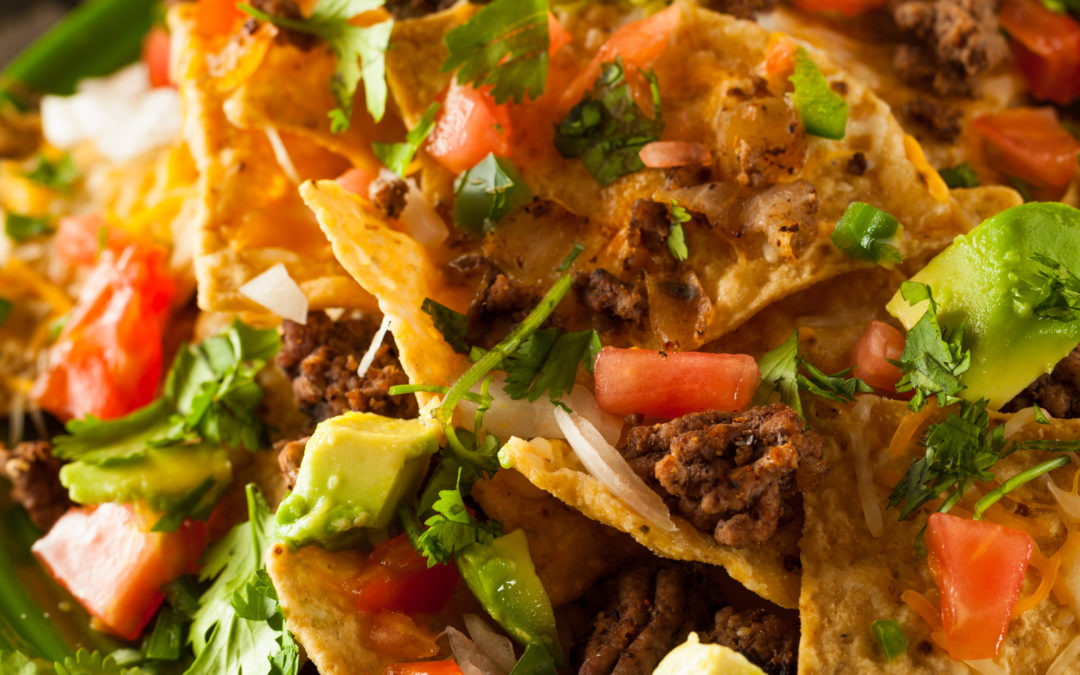
  8. Serve hot with toppings such as lime wedges, sour cream, shredded cheddar, chopped cilantro, sliced jalapeño, and diced onion.


Notcho Average Nachos

Notcho Average Nachos

Print
clock clock icon cutlery cutlery icon flag flag icon folder folder icon instagram instagram icon pinterest pinterest icon print print icon squares squares icon

NotCho Average Nachos


  • Author: Zach Johnston
  • Prep Time: 5 mins
  • Cook Time: 20
  • Total Time: 25 minutes
  • Yield: Shareable

Description

Nachos were born in the city of Piedras Negras, Coahuila, Mexico. A few wives of US soldiers stationed in a nearby town were shopping in the city and arrived at a restaurant after it had closed. The restaurant’s maître d, Ignacio Anaya tossed together what she had in the kitchen for the hungry mall-go-ers; tortillas, cheddar cheese, and jalapenos. Ignacio cut the tortillas into triangles, shredded the cheddar cheese, heated them both up and added the jalapeños. He named the dish nachos since “Nacho” is often a nickname for Ignacio in Mexican culture.


Scale

Ingredients

  • One Pound Lean Ground Beef
  • One Chopped Medium Onion
  • One finely chopped and seeded jalapeño pepper
  • One chopped and seeded small green bell pepper
  • Two to three TBSP of FAJITA SEASONING
  • One and a half cups of black beans
  • 16 ounces of salsa
  • One and a half cups of grated cheddar cheese
  • Tortilla chips (however many you want)

Instructions

  • Cook the ground beef with onions, garlic, jalapeno peppers, green bell pepper and FAJITA SEASONING in a large skillet.
  • Cook and stir until meat is no longer pink, drain all the fat off, and continue to cook until the meat is well browned.
  •  Add in black beans and salsa, cook and stir until heated through.
  • Add in ¾ cup of grated cheddar cheese, stir until it melts.
  • Place the tortilla chips on an oven-safe tray.
  • Top chips with beef, veggie, cheese mixture. Cover with more cheese.
  • Bake for 10 minutes at 350.
  • Pull out of the oven and add toppings.

Cast Iron Steak Fajitas

Cast Iron Steak Fajitas

Print
clock clock icon cutlery cutlery icon flag flag icon folder folder icon instagram instagram icon pinterest pinterest icon print print icon squares squares icon
Fajita

Steak Fajitas


  • Author: Zach Johnston
  • Prep Time: 10 mins
  • Cook Time: 15 mins
  • Total Time: 25 minutes
  • Yield: 4 People 1x

Description

Marinating your steak fajitas before you cook them is the make or break deal when trying to pack these pups full of flavor. Our Fajita Spice makes this process super easy, simply add oil and spices to a flank steak, leave it sit and you are good to go!


Scale

Ingredients

  • 2 pounds skirt, flank, sirloin, or hanger steak sliced into 1/2 inch strips
  • 1 red pepper deseeded and sliced into thin strips
  • 1 green or yellow pepper deseeded and sliced into thin strips
  • 1 medium onion peeled and sliced into thin strips
  • 3 tablespoons olive oil
  • 1 tablespoon lime juice
  • 68 tortillas warmed

Optional Extras

  • Guac
  • Sour Cream
  • Salsa

Instructions

  • Place the steak into a sealable bag. Add the 2 TBSP olive oil, 1/2 TBSP of lime juice, and 3 TBSP of FAJITA SEASONING to the steak bag. Shake, Baby, Shake.
  • Place peppers and onions into a separate sealable bag. Add 1 TBSP of Olive oil, 1/2 TBSP of lime juice and 1 TBSP of FAJITA SEASONING to the bag. Shake it. Shake it real good.
  • Seal the bags tightly and refrigerate for one hour to overnight.

COOKING

  • heat a large skillet over medium-high heat.
  • Dump the vegetables into the skillet and cook until just tender-crisp (5 minutes).
  • Remove the vegetables from the skillet to a plate and add steak strips to the same skillet.
  • When the steak is cooked throughout (about 7-10 minutes), add vegetables back to the skillet along with the leftover marinade from the bags.
  • Heat tortillas and serve with any extras you mustered up.

Sweet Heat & Soy Pork Chops

Sweet Heat & Soy Pork Chops

Print
clock clock icon cutlery cutlery icon flag flag icon folder folder icon instagram instagram icon pinterest pinterest icon print print icon squares squares icon
sweet-heat-soy-pork-chops

Sweet Heat Soy Pork Chops


  • Author: Kyle Golembiewski
  • Prep Time: 5
  • Cook Time: 12
  • Total Time: 17 minutes
  • Yield: 4 1x

Description

Simple marinading and pan frying makes this pork chop recipe a go-to for folks without much skill in the kitchen but a craving for complex flavor (like myself).


Scale

Ingredients

4 Pork Chops (Bone-in or boneless, optional)
3 T. Soy Sauce
2 T. Sweet Heat Spice Blend

**Sides are entirely your choice. I went with some roasted red potatoes and green beans. This pork would be INSANE in pork-fried rice.


Instructions

Place Pork Chops in zip-lock. evenly incorporate soy sauce and SWEET HEAT seasoning over Pork Chops. Refrigerate for 3-24 hours, letting flavors permeate. Remove from fridge for 30 minutes prior to cooking. Place on skillet or grill at medium heat. Sear both sides evenly and cook until internal temp. of the thickest portion of meat reaches 145°. Let rest for 5 minutes and serve.


  • Category: Entree
  • Method: Skillet or Grill
  • Cuisine: Chinese-American

Keywords: sweet heat, the spice guy, pork chops, soy sauce, spice recipes

Oven Baked Roasted Garlic Salmon

Oven Baked Roasted Garlic Salmon

Print
clock clock icon cutlery cutlery icon flag flag icon folder folder icon instagram instagram icon pinterest pinterest icon print print icon squares squares icon

Oven Baked Roasted Garlic Salmon


  • Author: Zach Johnston
  • Prep Time: 20 minutes
  • Cook Time: 12 minutes
  • Total Time: 32 minutes
  • Yield: 4 servings 1x

Description

This is an awesome weeknight winner. It’s easy, delicious and fast. The most important thing is to make sure you buy quality fish, you already have #certified-dope spices, so just make sure you visit a fish-friendly butcher shop or head to the fish case at a local grocery store!


Scale

Ingredients

  • 4 salmon fillets, skin-on (about 68 ounces each)
  • 2 tablespoons of oil
  • 1 T. Roasted Garlic Blend
  • fresh lemon wedges

Instructions

  1. Let salmon rest on the counter for 15 minutes, or until they have come to room temperature.
  2. Heat oven to 450°F.  Line a baking sheet with foil.
  3. Pat the salmon fillets dry on all sides with paper towels. Doing this to the skin is especially important so the fish doesn’t stick to the foil. Place the salmon skin-side-down the prepared baking sheet (or skillet).  If the ends of the salmon filets are really thin, just tuck them under a bit for even cooking.
  4. Brush the salmon on all sides (except the bottom) with oil.  Sprinkle each filet with a generous pinch of the Roasted Garlic Blend.
  5. Bake until the internal temperature of the salmon reaches 135-140°F*, about 4-6 minutes per half inch of thickness (measured by the thickest part of the filet).  You can also test for doneness by inserting a fork or knife in the salmon and twisting it a bit; the fish should be opaque and flake easily.
  6. Remove pan from the oven and transfer the salmon to a serving plate. Sprinkle each filet with a good squeeze of lemon juice, plus any sauce that you like. We especially like yogurt based cream sauces for this dish. It’s easy; just whip together a spoonful of greek yogurt with a squirt of lemon, a squirt of olive oil, and a pinch of salt. Voila.